Are you wondering how to preserve your wedding bouquet? If you’re like most brides, you probably devoted a good chunk of time to deciding on your perfect flowers – after all, it’s one of those essential wedding accessories a bride is rarely seen without. You’ll be glad to know there are many ways you can keep it as a touching memento of your wedding day.
Tossing the wedding bouquet
You probably already know that when you toss your bouquet, you can’t exactly ask for it back. So if you want to do both – that is, toss and keep – you’ll simply need two bouquets (or kindly ask your bridesmaid if she minds if you use hers). If you decide you want a specific bouquet for tossing, ask the florist about your duplicate options and prices – it can be smaller and doesn’t have to look the exact same.
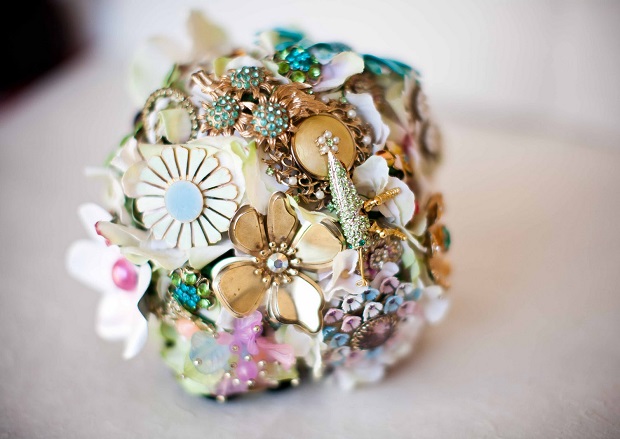
Above, brooch bouquet courtesy of Lamb & Blonde
Alternative wedding bouquets
You may have noticed the growing trend for alternative bouquets – like paper flowers, purses, and of course the ever-popular brooch bouquets. It’s no coincidence they’re all easy to preserve – they’re made with keeping in mind. So if you’re really keen to keep your bouquet, but unsure whether the flowers will last, consider a creative and permanent option.
Professional flower preservers
For truly long-lasting effects, go with a professional. Not only do they know exactly how to handle flowers, how to keep the colours from fading, and how to frame the finished product so it’s safe from dust and humidity, they also have a variety of professional methods at their disposal. They may use special sprays, shellacking, glycerine, adapting the method to each type of flower. You may not realise this, but preserving the foliage and stems is one of the most difficult parts of the whole process, and it’s unlikely you’ll achieve the same look at home as a professional would. So if you’ve really set your heart on keeping your bouquet as perfect as possible, consider a professional. Prices do vary, and when you’re presented with several options, you’ll be able to choose the right one for you.
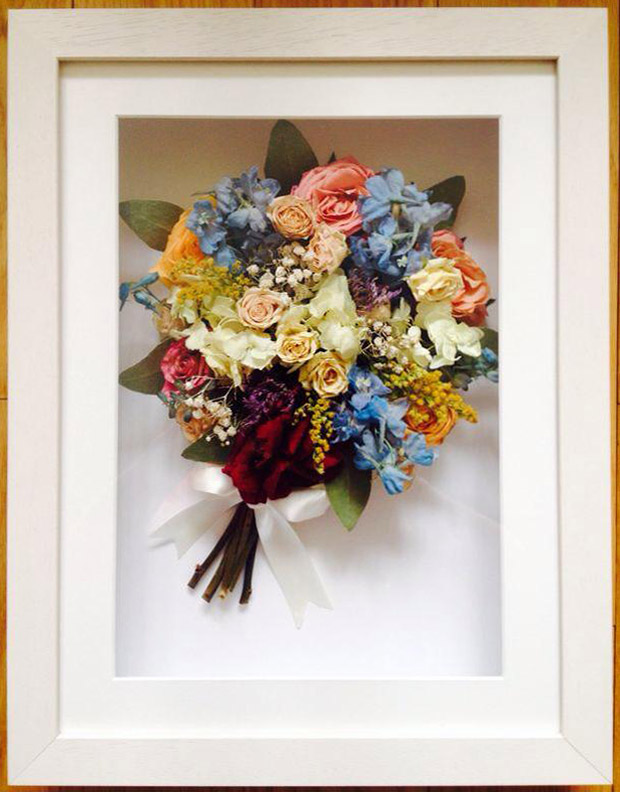
Above, image courtesy of Anne Donohoe, professional preserver
Do-it-yourself preservation
There are two things to consider before you decide whether to have a go at it yourself – do you want to preserve the entire bouquet, and how you want to display it. Think of the size and the shape – if you want to keep it exactly as it is, you’ll need a deep enough frame to fit it all comfortably. If this won’t work, you may want to consider taking out a few blooms and arranging a little mini-display, which will be much easier. Be sure to ask your florist about flowers which are best for preserving. Modern-day methods can do wonders with even the most fragile blooms, but for extra assurance it’s best to consider those that will really last. For example, cut carnations last very long in a vase, but can be difficult to dry due to their fragile petals. Others may change colours when dried. If you ask in advance, you’ll avoid disappointment later.
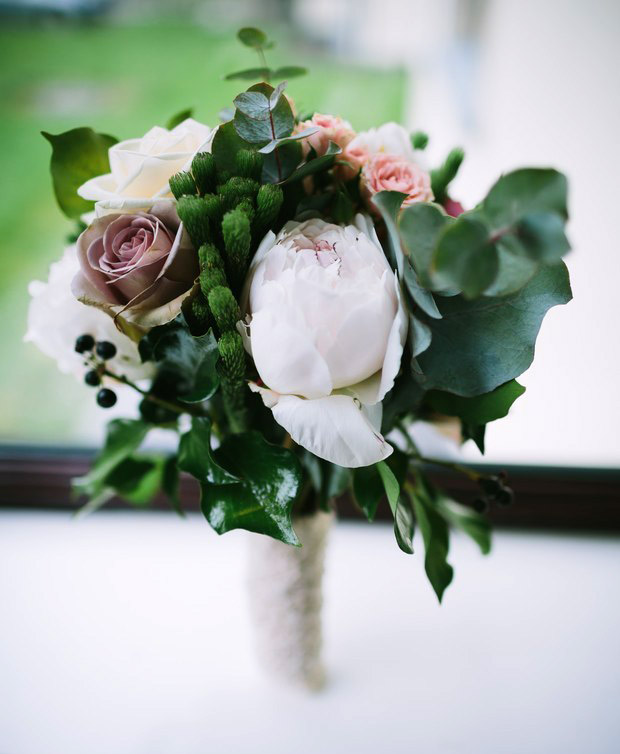
Above, image from Lucy & Liam’s real wedding by Eden Photography
How to preserve flowers at home
If you have your heart set on preserving your flowers, ideally, you’ll have already discussed this with your florist (as mentioned above), and chosen flowers that aren’t too fragile. The first thing to do is to research the best method for each type of bloom – and be sure to check the instructions on what to do with the stems and foliage too. Don’t be surprised if you’re told to simply cut it all off and put the flowerhead on a wire… some stems cannot be preserved. Then, you need to ensure you have your display box ready, so buy or order it well in advance. Finally, if at all possible, you should get started on this immediately after the wedding – flowers that have begun wilting don’t take well to preservation. And once you begin, you’ll need to be sure the flowers are completely dried – any hint of moisture and your work may have been in vain.
The most commonly used home methods include:
Pressing – all you need is a big heavy book, some other books to pile on top of it, and patience to arrange your flowers between the pages. The results are perfectly flat, and easy to arrange in a conventional photo frame.
Hanging to dry – recommended upside down, in a warm dark room, for up to three weeks.
Standing to dry – a box with holes far apart to avoid flower heads touching.
Sand or silica gel – you know those tiny little pouches marked ‘do not eat’ you find in shoe boxes and handbags? That’s silica gel – a genius drying substance that works like a dream. The method for sand and silica gel is the same and involves placing your flower heads in a box and completely covering them with either one.
Hairspray – it’s all chemicals, so some of your flowers definitely won’t like it, and that’s why you need to check what works best for each kind.
Alternative things you can do with your bouquet
If none of the above strike your fancy, there are plenty of creative things you can do with your bouquet or parts of it – so many gorgeous options.
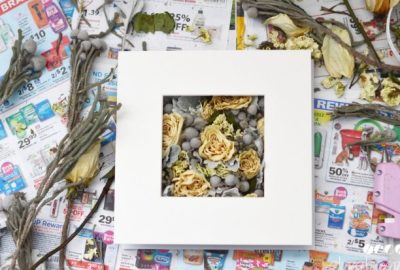
Press individual petals or flowerheads, then frame as you like it.
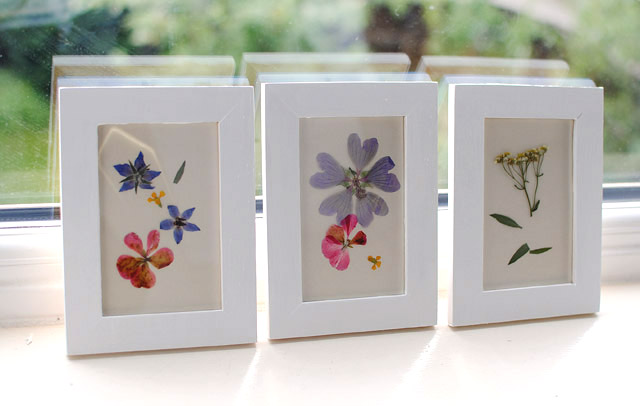
Above, image courtesy of This Fashion Is Mine
Make pot pourri or scented sachets for your wardrobe.
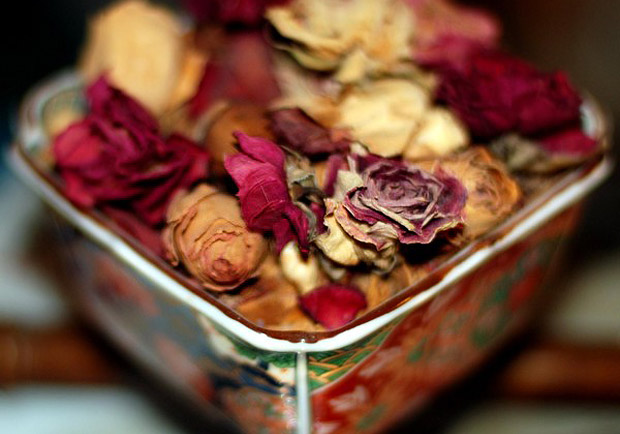
Above, image courtesy of Chattinatti
Add petals from your bouquet to home-made candles.
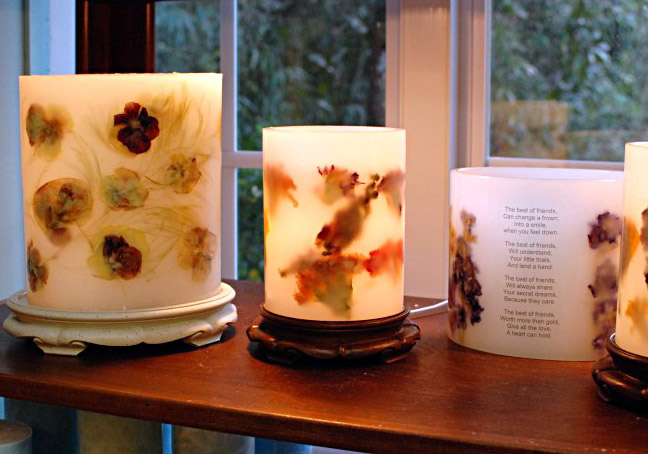
Above, image courtesy of Isle of Candles
Make completely unique thank-you cards by gluing pressed petals onto blank paper cards – especially beautiful on textured watercolour paper.
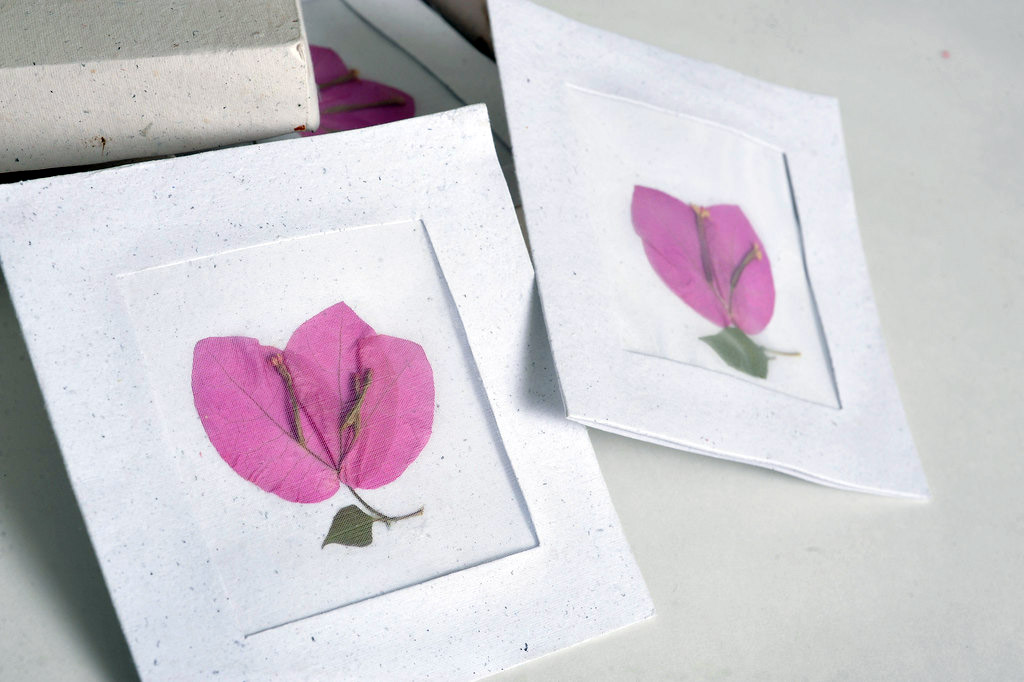
Above, image courtesy of organiclifestyle.com
Turn your petals into beads to make completely unique and meaningful jewellery – roses tend to be best flower for this.
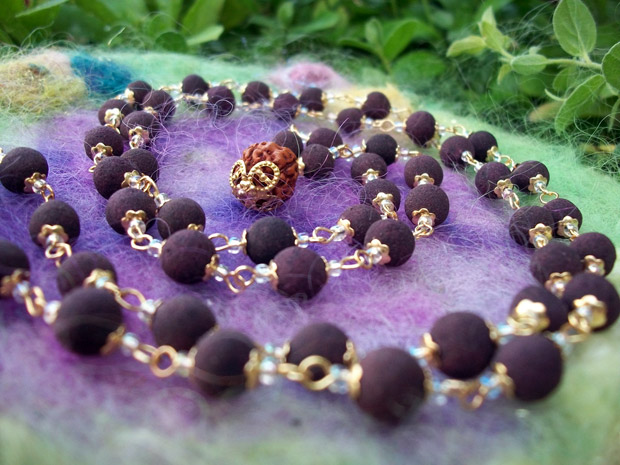
Above, image courtesy of Etsy
Main image courtesy of Into the Light Photography
