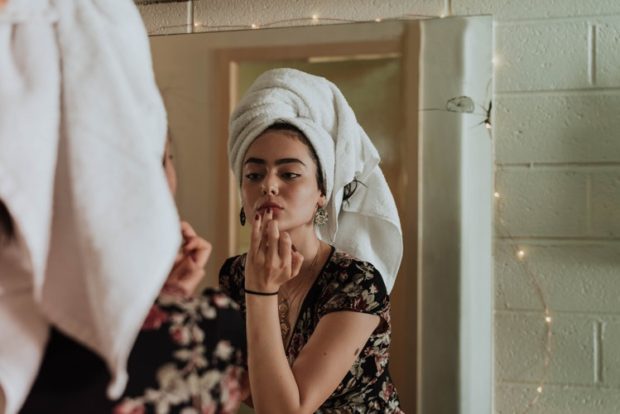
Can you imagine Van Gogh trying to paint his famous ‘Sunflowers’ without brushes, or Michelangelo attempting to sculpt his ‘David’ without his trusty hammer and chisel? It would be impossible. The same goes for us ladies. We can’t possibly make ourselves beautiful without using the proper beauty tools of the trade; i.e. makeup brushes, sponges, foundations, lip liners, eyeliners, concealers etc. Bridal beauty is all about getting ready for the wedding day months in advance. Here’s our guide on keeping your skin looking fresh and having the right tools in your makeup bag!
However, choosing the right tools can be very confusing as there are so many sizes, shapes, price tags and products out there.
So, take a minute girls, ok, an hour then; have a good old root around your makeup bag, and do a good clear out; because nothing will get you up and out of the house quicker than a well-organised makeup bag. So go on, we dare you to delve deep and discover just what lurks at the murky bottom of the pile!
Our guess is you’ll find lots of old, grungy mascara’s, leaky bottles, spilt powder, dirty tissues, well-worn lippy, broken eyeshadow pots and iridescent pink blusher that was way past its sell-by date when it became fashionable in the late 60’s!
Here’s a few makeup bag ‘must haves’ to get you started.
Brushes
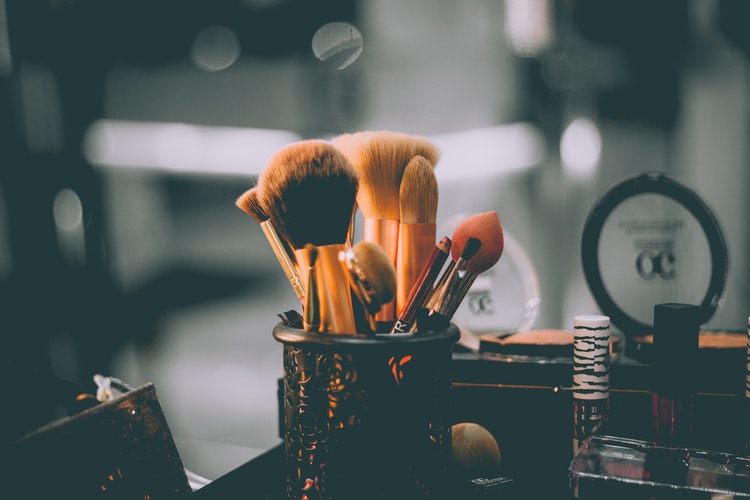
We’ve all got a little blemish we want to hide, so a good concealer brush is a must. Use a small-tipped one made of either sable or synthetic bristles to dot tiny amounts of concealer on and around the blemish.
A big, fat, blusher/powder brush is a must because when it comes to this brush, more is more. One with a massive, dome-shaped head does the job twice as efficiently. Tip: Applying loose powder with a brush gives a sheer finish.
A foundation brush can give a more ‘natural’ finish to your cream foundation. Dab some foundation onto the back of your hand, scoop up on the brush and feather it around the face – using downward strokes, and move out at the hair and jaw lines. Opt for one with synthetic bristles as they soak up the foundation more effectively, so you get less waste.
It’s in Your Eyes

They say the eyes are the windows to the soul; well, not if they’re caked in badly applied eyeshadow they’re not. But you can remedy this by applying eye makeup with an eyeshadow brush made of sable – best for cream or powdered eyeshadow. However, if you want a more intense, darker tone, then use a dense angle-cut brush.
When it comes to applying eyeliner and creating definition on the top and bottom lids, then an ultra-fine brush is the only one for the job. Also, if you’ve got sparse eyebrows, use an angled brush to ‘fill-in’ and create thicker, lush brows.
False Eyelashes. Always opt for individual ones, and apply with good tweezers. Place small ones at the inner corner of the eye, close to the root but not directly on the root, then medium ones towards the middle and longer ones towards the outer eye. If one comes loose then it’s not a total disaster; as with strip falsies, when one comes loose the entire strip will come away.
Luscious Lips
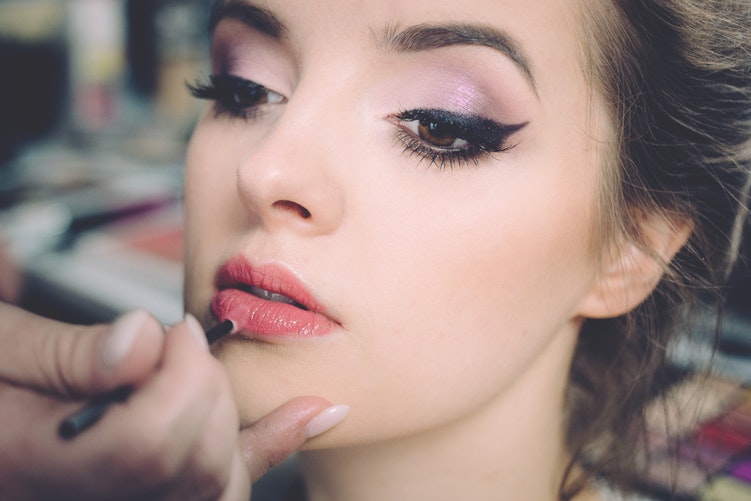
The colour of your lips brightens and enhances your appearance. However, if your lipstick smudges or bleeds, then it ruins your entire look. To avoid this, apply a thin layer of foundation or some powder to the lips before lining them.
Use a natural colour lip liner or a colour that closely matches your lipstick. Apply lipstick and blend in. For a natural look, blot with a clean tissue. For a more glam look, apply gloss, starting from the centre and moving towards the corners.
If you want to avoid that dreaded lipstick-on-teeth look, then here’s a little trick: After applying lipstick, take your (clean) index finger and put it into your mouth, make an ‘O’ shape with your lips, then slowly, pull finger back out. The excess lippy should stick to your finger and come off rather than stick on your teeth.
Speaking of those pearly white gnashers, using orange, brown and coral shades of lippy tend to make teeth appear yellowish. To downplay this, use lippy with a bluish undertone, such as plum, violet or wine coloured.
To keep that lippy pristine and stop it sticking to the glass when toasting your groom with champers, discreetly lick the outer lip of the glass before touching it with your lips.
Teeth
As we get older, our teeth naturally become slightly darker in appearance; and certain products like coffee, red wine and smoking can also lead to staining.
Having your teeth whitened has been somewhat of an American tradition, but now, many Irish people are demanding brighter, whiter, superstar smiles and a quick trip to the dentist can ascertain just how badly discoloured – if at all – your teeth really are; that you don’t have leaky fillings or decay and that your mouth is healthy.
But first of all what is teeth whitening?
It involves an expert, i.e., your dentist, applying a solution of hydrogen peroxide or bleach, to the outside surface of the teeth. As the peroxide penetrates the teeth, they become whiter.
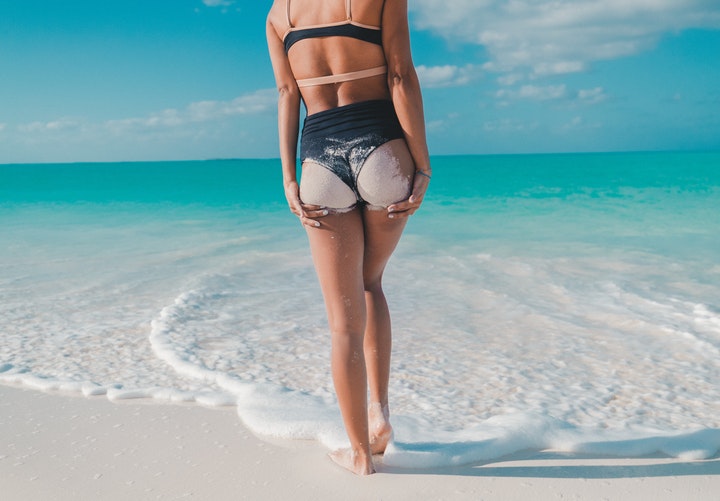
Bridal beauty: Getting ready for the wedding
Faking it

Very few brides opt for spray on fake tan for fear of looking slightly orange in the photographs. However, if you do decide to fake it, it may sound obvious, but please have a dry run a couple of weeks before your big day to make sure your beautician gets the tone right for your skin and hair colouring and have the spray done at least 48 hours beforehand. If you do have a minor disaster, then you’ve got two days to sort it out.
A quick fix for getting rid of unsightly tanning faux pas is to whip up a mix of pure lemon juice and sugar, make a paste, get into the shower and start exfoliating. The acid in the lemon will neutralize the tan and the sugar acts as an exfoliant. Also, use a dry, hard towel to scrub and scrub your body to remove any excess that’s left over.
Cellulite
The dreaded cellulite is the bain of every woman’s life; and if you don’t have any, well then …bite me! – Because you’re one of the lucky few; and chances are, you’ll fall prey pretty soon and it will make an appearance on your thighs. (Also, it’s hereditary so if mummy has dimpled thighs, then chances are; poor you will probably get it too).
Cellulite consists of pockets of fat located just below connective tissue under the skin. These fatty deposits swell constraining connective tissues, giving you the orange peel effect. So, if you’re stick thin, you can still have cellulite deposits.
There is no magic cure to rid yourself of cellulite but there are things you can do to lessen the effect.
- A bit of cardiovascular exercise injected into your keep fit routine may work for you. The heart needs to be beating fast enough to increase your circulation to help reduce cellulite deposits.
- You could try some of the products on the market and see if they work, but do check all the ingredients first in case you are allergic to any of them.
- There is an expensive way to rid yourself of cellulite and that’s to go the cosmetic surgery route, but do your research thoroughly and only use a cosmetic surgeon who has been personally recommended to you and whose work you have seen.
Hands
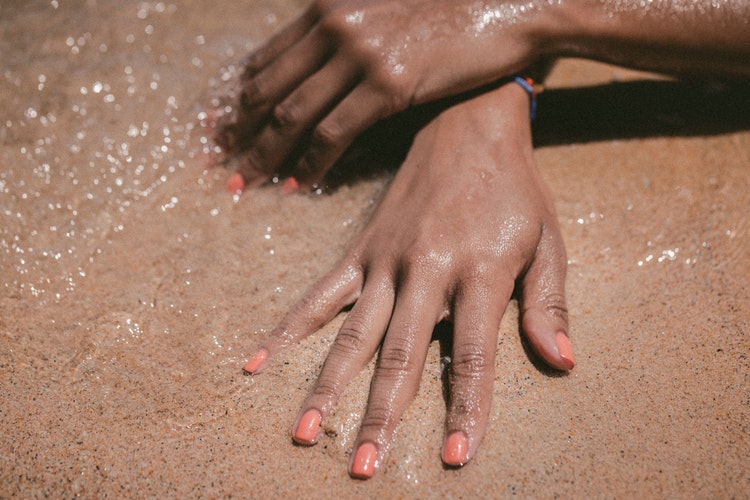
Your hands will constantly be on view during your entire wedding day; from the photographs of the wedding rings to the toasts, to the cutting of the cake, etc., I mean, unless you’ve got a pocket tucked away in that fabulous gown and are going to bury your hands inside it, it stands to reason people will be looking at your hands.
It’s no good having perfectly manicured nails if your hands are chapped and dry. So pamper those palms ladies!
First of all, let’s start with exfoliating. Before going to bed, add a few teaspoons of sugar to your soap, and wash and rinse. Liberally apply your favourite moisturiser or hand lotion, pop on a pair of cotton gloves and snuggle down under the duvet and let your moisturiser work its magic. If you get into the habit of doing this you’ll be amazed at the difference it will make to your hands’ appearance.
Feet
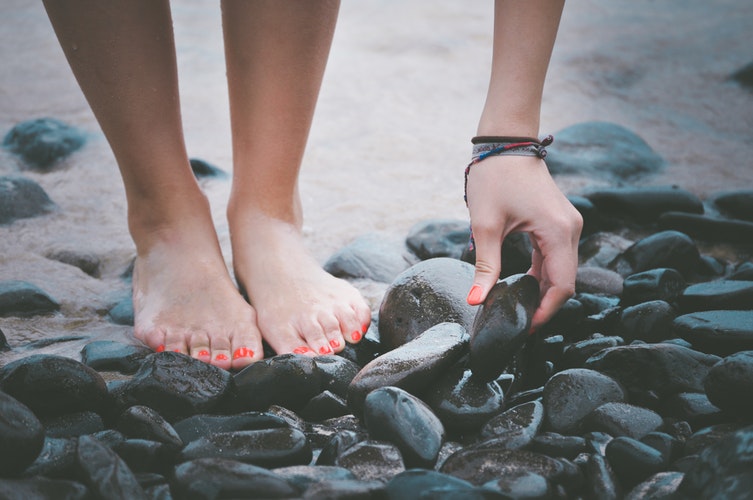
A beautiful bride is not just a bride who wears a couture gown, complemented by accessories to die for…she also has fabulous shoes; and fabulous shoes deserve fabulous feet!
So, if you’ve got cracked, dry heels, unsightly toenails, calluses (thickened, hardened skin), or whatever your foot problem happens to be, now is the time to get it sorted because nothing can ruin a stunning overall bride’s look faster than ugly, clumpy feet.
Remember girls, pampered feet are pretty feet, so give yourself a DIY pedicure.
- Remove nail polish from your nails.
- A nice treat is to soak your feet in a basin of warm, salty water – Epsom salts are good – or add some peppermint oil to waken and freshen up the feet. The more cracked and dry the feet, the longer they need soaking.
- Use a pumice stone to scrub and exfoliate away dead skin around the toes, heels, sides, bottom and balls of the feet. Remember not to scrub so hard that your skin goes red; you only want to remove dead skin.
- Dry feet thoroughly, especially in between toes and rub in a thick, moisturising foot balm.
- Apply a thin base coat of nail polish. One stroke down the middle and one each side. Don’t paint cuticle. Wait a few minutes then apply top coat. Of course, you’re going to make a few errors, so have an orange stick wrapped in a bit of cotton wool or a cotton bud dipped in acetone, and gently remove any evidence.
- Sit back and allow nails to dry. They should be touch dry in about ten minutes but it will probably be at least thirty before they are thoroughly dry.
- Finish off with some cuticle oil.
- If you’re feeling particularly adventurous, you could try some exciting nail art or add on a cute nail charm.


